I have used TinkerCad before, just in a tutorial to create a Die. I also tried making one of my favourite table-top games, Hive, using TinkerCad, before realizing that a free open source template already existed!
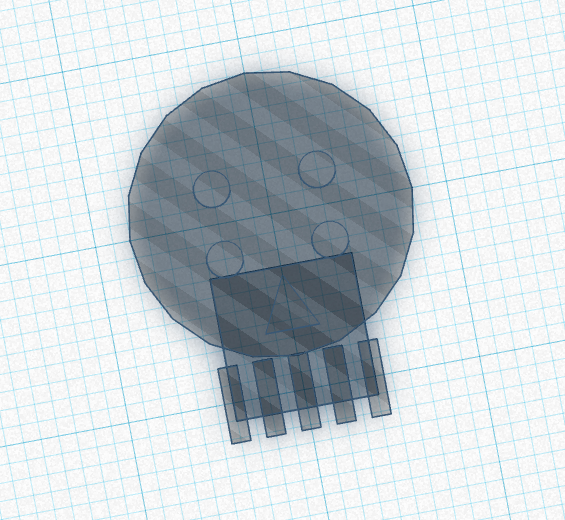
Today, I have chosen to create a simple skull button. I do love skulls 🙂
Reflections:
Pros
- the steps were broken into tiny, accessible-to-me portions that I could click through and complete
- without completing a site tutorial, I was able to figure out how to navigate based on the layout of the buttons
- I could choose to click and drag, or to input my desired restrictions with my keyboard
- the tutorial provided ‘ghost lines’ that I just needed to match my own shape to
Cons
- figuring out how to change my own viewpoint of this project was frustrating; shift+ctrl+click allowed me to move myself around on the grid, ctrl+click allowed me to change the angle
- there was one step where the orange ‘ghost lines’ didn’t actually fit the measurement they asked me to do! My perfectionism had a little spasm.
How would I use this in my library?
I don’t have a 3D printer, but this challenge really played on my ability to follow steps, use precision, click & drag, recognize shapes, and problem-solve. I needed patience, perseverance, and some existing computational skills to complete even this simple tutorial. All of these skills are great building blocks for students.
Without the reward of seeing their design printed, I may not actually introduce TinkerCad to students. Would it be relevant and authentic learning for them to learn to design something they can’t actually see come to life?
Similar skills can be built using Scratch, where the kids could design a game to play, or RoomSketcher, where size and layout are key.
Reference:
https://www.tinkercad.com/learn/overview/OLMADDIIYEQ7SUQ;collectionId=O2C1PXBIQ2KHCOD
Recent Comments